Victoria with Ruffle Sleeve
- CC Store
- Apr 12, 2023
- 1 min read
Updated: Jun 9, 2024
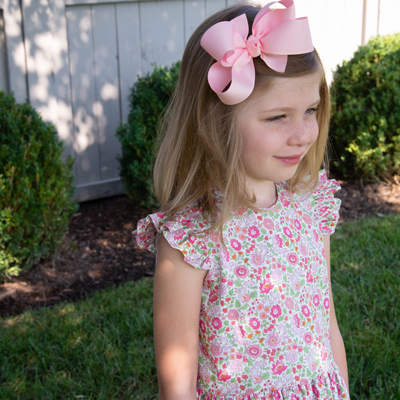
For a day full of sunshine, she doesn’t need anything more than a cute ruffle sleeve. Often referred to as an angel sleeve, we put this cute sleeve on the Victoria pattern for a frill-styled dress.


Supplies
Children’s Corner Victoria pattern, sleeveless bodice
Instructions
1. Cut a rectangle according to the chart below.

2. Fold rectangle in half with wrong sides together along center line and press. Shape ends of the rectangle to achieve curved ends as shown in diagram.

3. Press fabrics wrong sides together, run two lines of lengthened machine stitching from end to end along the raw edge side of the sleeve. Stitch the first line 1/8” from the raw edge and the second line 3/8” from the raw edge. Repeat with other sleeve.

4. On your armhole, start at shoulder seam and measure down front and back and mark halfway points. Place a dot on the right side of fabric. This will be the top half of the armhole where the ruffle sleeve is inserted.

5. Gather sleeve to fit between marks on bodice, distributing gathers evenly. Pin, and baste in place to the right side of fabric using a scant ¼” seam allowance.

Button closure-bodice
Zipper closure-bodice

Click the printer icon below for printable version.

